
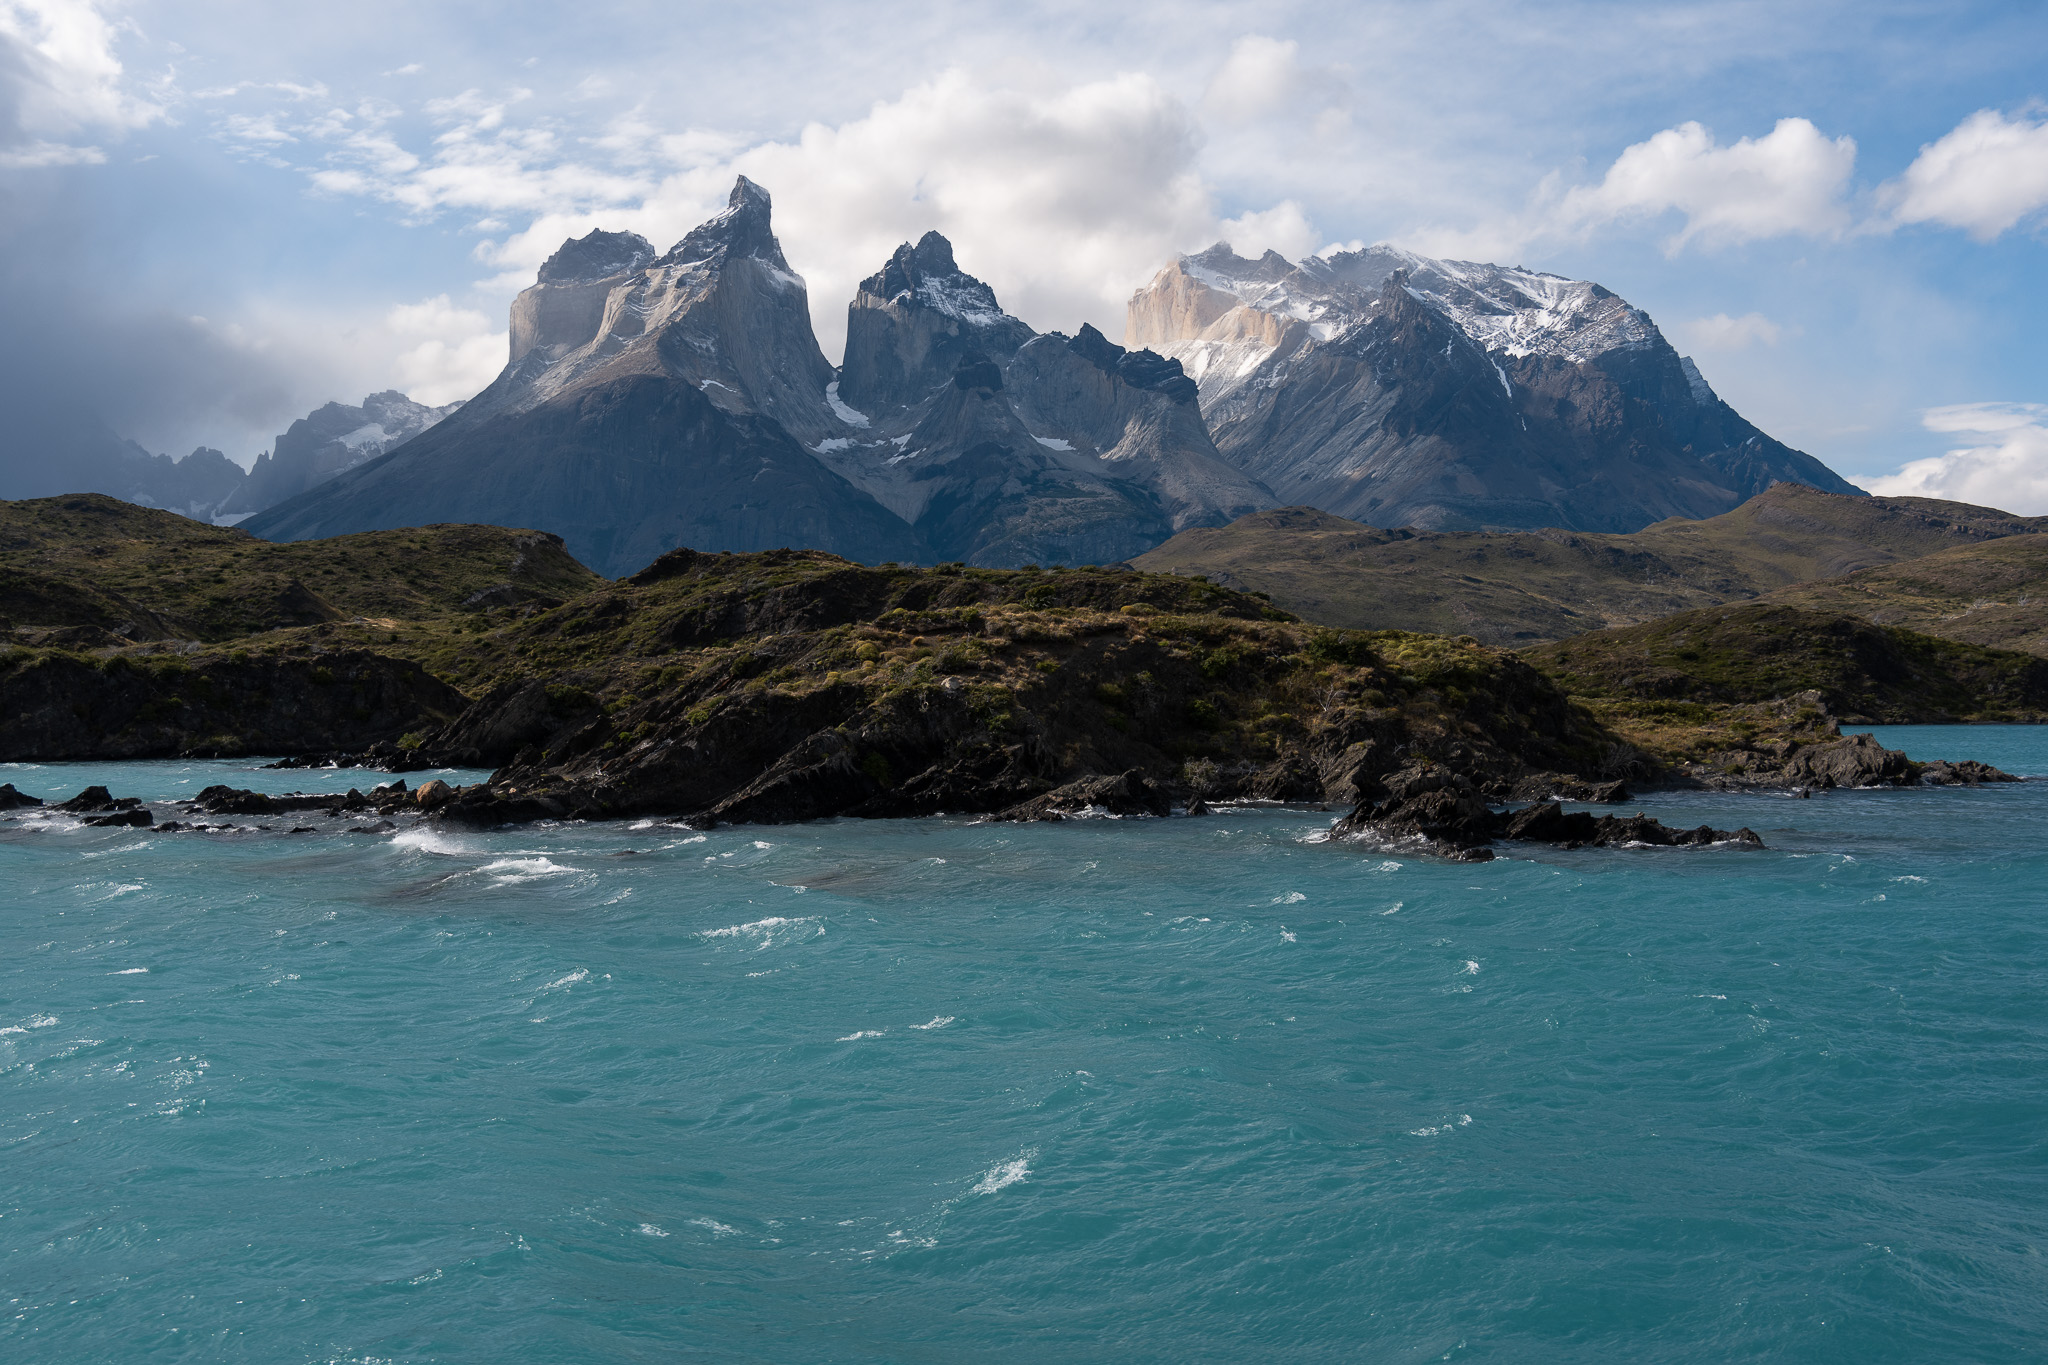
I just returned from one of the longest hikes I’ve ever done, the famous O Circuit in Chile’s Torres del Paine National Park! This eight-day hike goes around the Paine massif itself, circumnavigating these magnificent peaks and showcasing them from every angle. For landscape photography, it’s hard to think of a more exciting hike.
But planning for photography during a trek like this can be quite daunting, especially given the weight considerations. Should you bring a tripod? What focal lengths are necessary, and what can you get away with leaving at home? In today’s article, I’ll go through some of the main considerations and tips that I find useful for multi-day hikes like this one.
Although this article is based on my experiences in Patagonia specifically, I think that the lessons here will apply for almost any multi-day hiking.
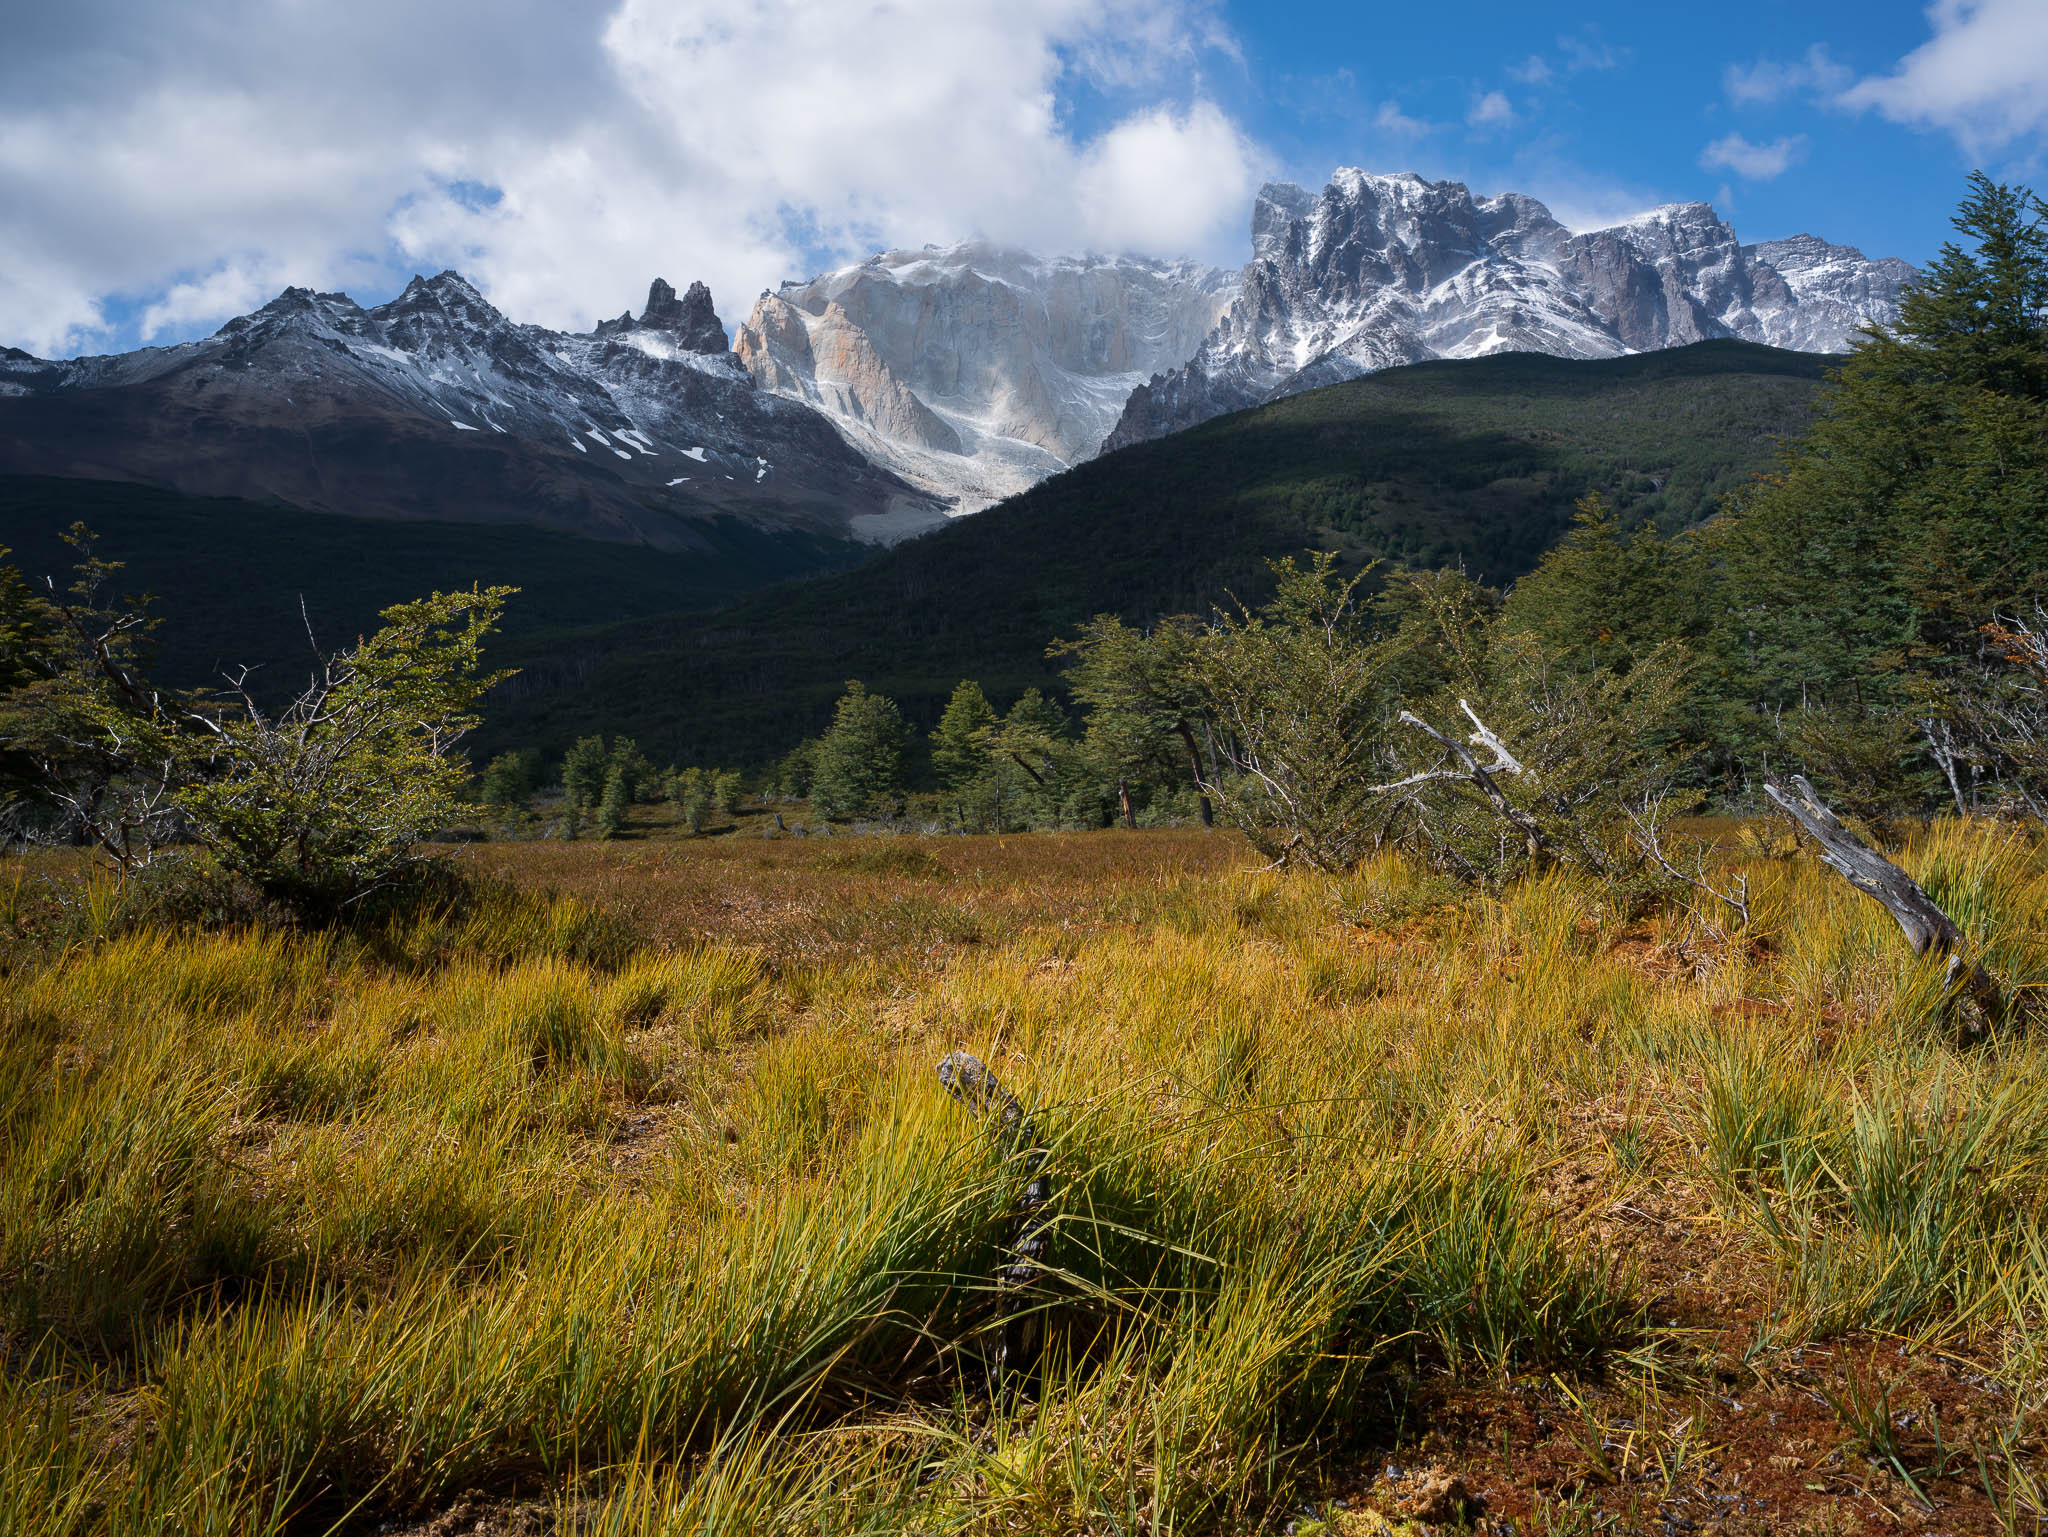
NIKON Z 7 + NIKKOR Z 28-400mm f/4-8 VR @ 32mm, ISO 64, 1/250, f/8.0
The Camera Gear I Brought
The camera kit that I brought with me on the O Circuit was far from optimal – I deliberately overpacked so that I could test as many lenses as possible for upcoming reviews on Photography Life. This meant two cameras, seven lenses, and my regular tripod. You can see what I do for our reviews! My kit looked like this:
- Nikon Z7 (675g with battery and card)
- Hasselblad X2D (895g with battery and card)
- Voigtlander 15mm f/4.5 Heliar (294g)
- Voigtlander 50mm f/2 APO-Lanthar (370g)
- Voigtlander 75mm f/1.5 Nokton (530g)
- Nikon Z 28-400mm f/4-8 VR (725g)
- Hasselblad 28mm f/4 P (245g)
- Hasselblad 55mm f/2.5 V (372g)
- Hasselblad 35-75mm f/3.5-4.5 (1115g)
- RRS TVC-24 tripod (1500g)
- Markins Q3i-Tr ballhead (374g)
- Arca-Swiss Quick Link set for tripod and head (139g)
- Total weight: 7234 grams or 15.9 pounds
I also brought along some other accessories, consisting of:
- RRS L-bracket for Nikon Z7
- Arca-Swiss style base plate for Hasselblad X2D
- A small Allen wrench to tighten tripod plates
- USB-C charging cord and adapter
- Extra Nikon EN-EL15 battery
- Small microfiber lens cloth
- Sensor gel stick
- F-Stop Gear large internal camera unit
Here, the main source of weight was the F-Stop Gear internal camera unit, which held all the gear and kept it safe and accessible during the hike. I measure it as weighting 752 grams. The other accessories were very light individually but add up to an extra ~200 grams or so. This puts the total weight of camera equipment around 8.2 kilos / 18 pounds.
It should go without saying that you can, and almost certainly should, pack much lighter than that for multi-day hikes. But I leave the list here for you for reference and to answer any questions about what I brought.
Tips for Multi-Day Photography Hikes
1. Distribute the Weight
I didn’t pack light at all for this hike. Yet my bag wasn’t really uncomfortable, and I was able to keep my hiking speed reasonable without being miserable the whole time.
Part of that is because of how I distributed the weight of the items in my pack. My advice is to keep the heaviest (or really, the densest) items in your backpack as close as possible to your body. That way, they don’t drag you backwards and feel heavier than they really are. Also, don’t put the densest items at the very bottom of the backpack or the very top, but instead, near the middle or a little higher.
As a photographer, this is likely to include your camera, lenses, and batteries. Unfortunately, the best spot for weight distribution is also going to be a little harder to access quickly, so there’s a bit of a tradeoff. But I find that it’s worth distributing the weight better regardless – you probably don’t want to make the whole hike more difficult in exchange for slightly quicker camera access.
There’s also the matter of balancing the weight from left to right. If you bring along a tripod, it’s common to strap it to the side of your pack. But if you don’t counterbalance it with something on the other side, you’ll end up putting more weight on either your left or right shoulder, which can grow into a big problem over the course of many days. The easiest way to balance it is with a water bottle on the opposite side – although it works best when the bottle is relatively full. Personally, I also shifted the internal contents of the backpack a little to compensate.
2. Every Ounce Matters
The little decisions that you make really add up when doing such a long hike. It might feel crazy to cut your toothbrush in half, pour all your trail mix into the same plastic bag, re-use as much clothing as possible, and spend $50 more for a sleeping bag that’s one ounce lighter. But if you do all these things, suddenly your pack is noticeably lighter.
This applies to camera gear as well. Go with just a base plate instead of an L-bracket. Leave your UV filters and your camera strap at home. Bring just 1-2 extra batteries instead of 3-4 (it’s amazing how far judicious battery usage can get you). Congratulations – you’ve now reduced the weight of your bag significantly!
In fact, one thing I’d do differently on a future multi-day hike is to leave my F-Stop Gear internal camera unit behind. It made some sense to carry it on the O Circuit given my excess of camera equipment, but if you only have one camera and 2-3 lenses, you can protect them just fine using the clothing in your backpack instead of a dedicated camera unit.
Finally, depending on the trek, there may be huts along the way with snacks, meals, and even beds. These are likely to be quite expensive, and it’s tempting to save money by bringing your own gear instead. However, I would say that for photographers, it’s better to take advantage of these creature comforts if at all possible. Your bag is already going to weigh more than that of most hikers; if you can reduce the weight substantially by spending more money during the hike, think of it as a necessary evil.
Minimizing weight isn’t my primary goal on multi-day hikes; getting good landscape photos is. But for a variety of reasons, a lighter bag does lead to better photos!
3. Stop Frequently for Photos
It’s easy to get in your own head a little bit when doing a multi-day hike. Especially on some of the later days of the trek, it can feel like your main focus is far away from photography – it’s on things like food, sleep, and where to place your next footstep. Also, I find that new scenery can feel less and less “new” as the hike goes on. You can lose the motivation to stop and pull out your camera again.
But I encourage you to try not to fall into this mindset. Day seven of the trek may feel similar to days 1-6, but I suspect it’s still very different from what you normally see in your daily life. Don’t be satisfied by pulling out your phone and taking a snapshot, or only taking pictures at the most dramatic spots. If you were willing to carry all your heavy camera gear this far, stop and use it often.
If you’re even slightly on the fence about stopping, stop! Take some proper photos, even if it slows you down a bit. Unless you go out of your way to do the entire multi-day hike again, there’s a good chance you’ll never be back to this spot, and you don’t want to regret missing out on taking a photo.
4. Do You Need a Tripod?
I’m a huge proponent of tripods. And I don’t think that just any tripod can do the job, especially in windy conditions. I knew how windy the O Circuit can get, so I ultimately brought my middleweight tripod (the RRS TVC-24) instead of my lightest travel tripod.
This ended up being the wrong choice. I could have saved about 800 grams / 1.76 pounds by bringing my lighter tripod kit instead (the Gitzo GIGT1545T with the RRS BH-25 head). It’s not that I totally regret bringing the sturdier tripod, but I think I would do it differently in hindsight. Granted, that’s partly because it ended up being less windy than expected, which isn’t something that can be predicted ahead of time.
But aside from the unique conditions of my particular hike, it’s simply possible to push your gear further these days without a tripod, or with a lighter tripod. You can go a long way through a combination of higher ISOs, image stabilization, and careful depth of field placement.
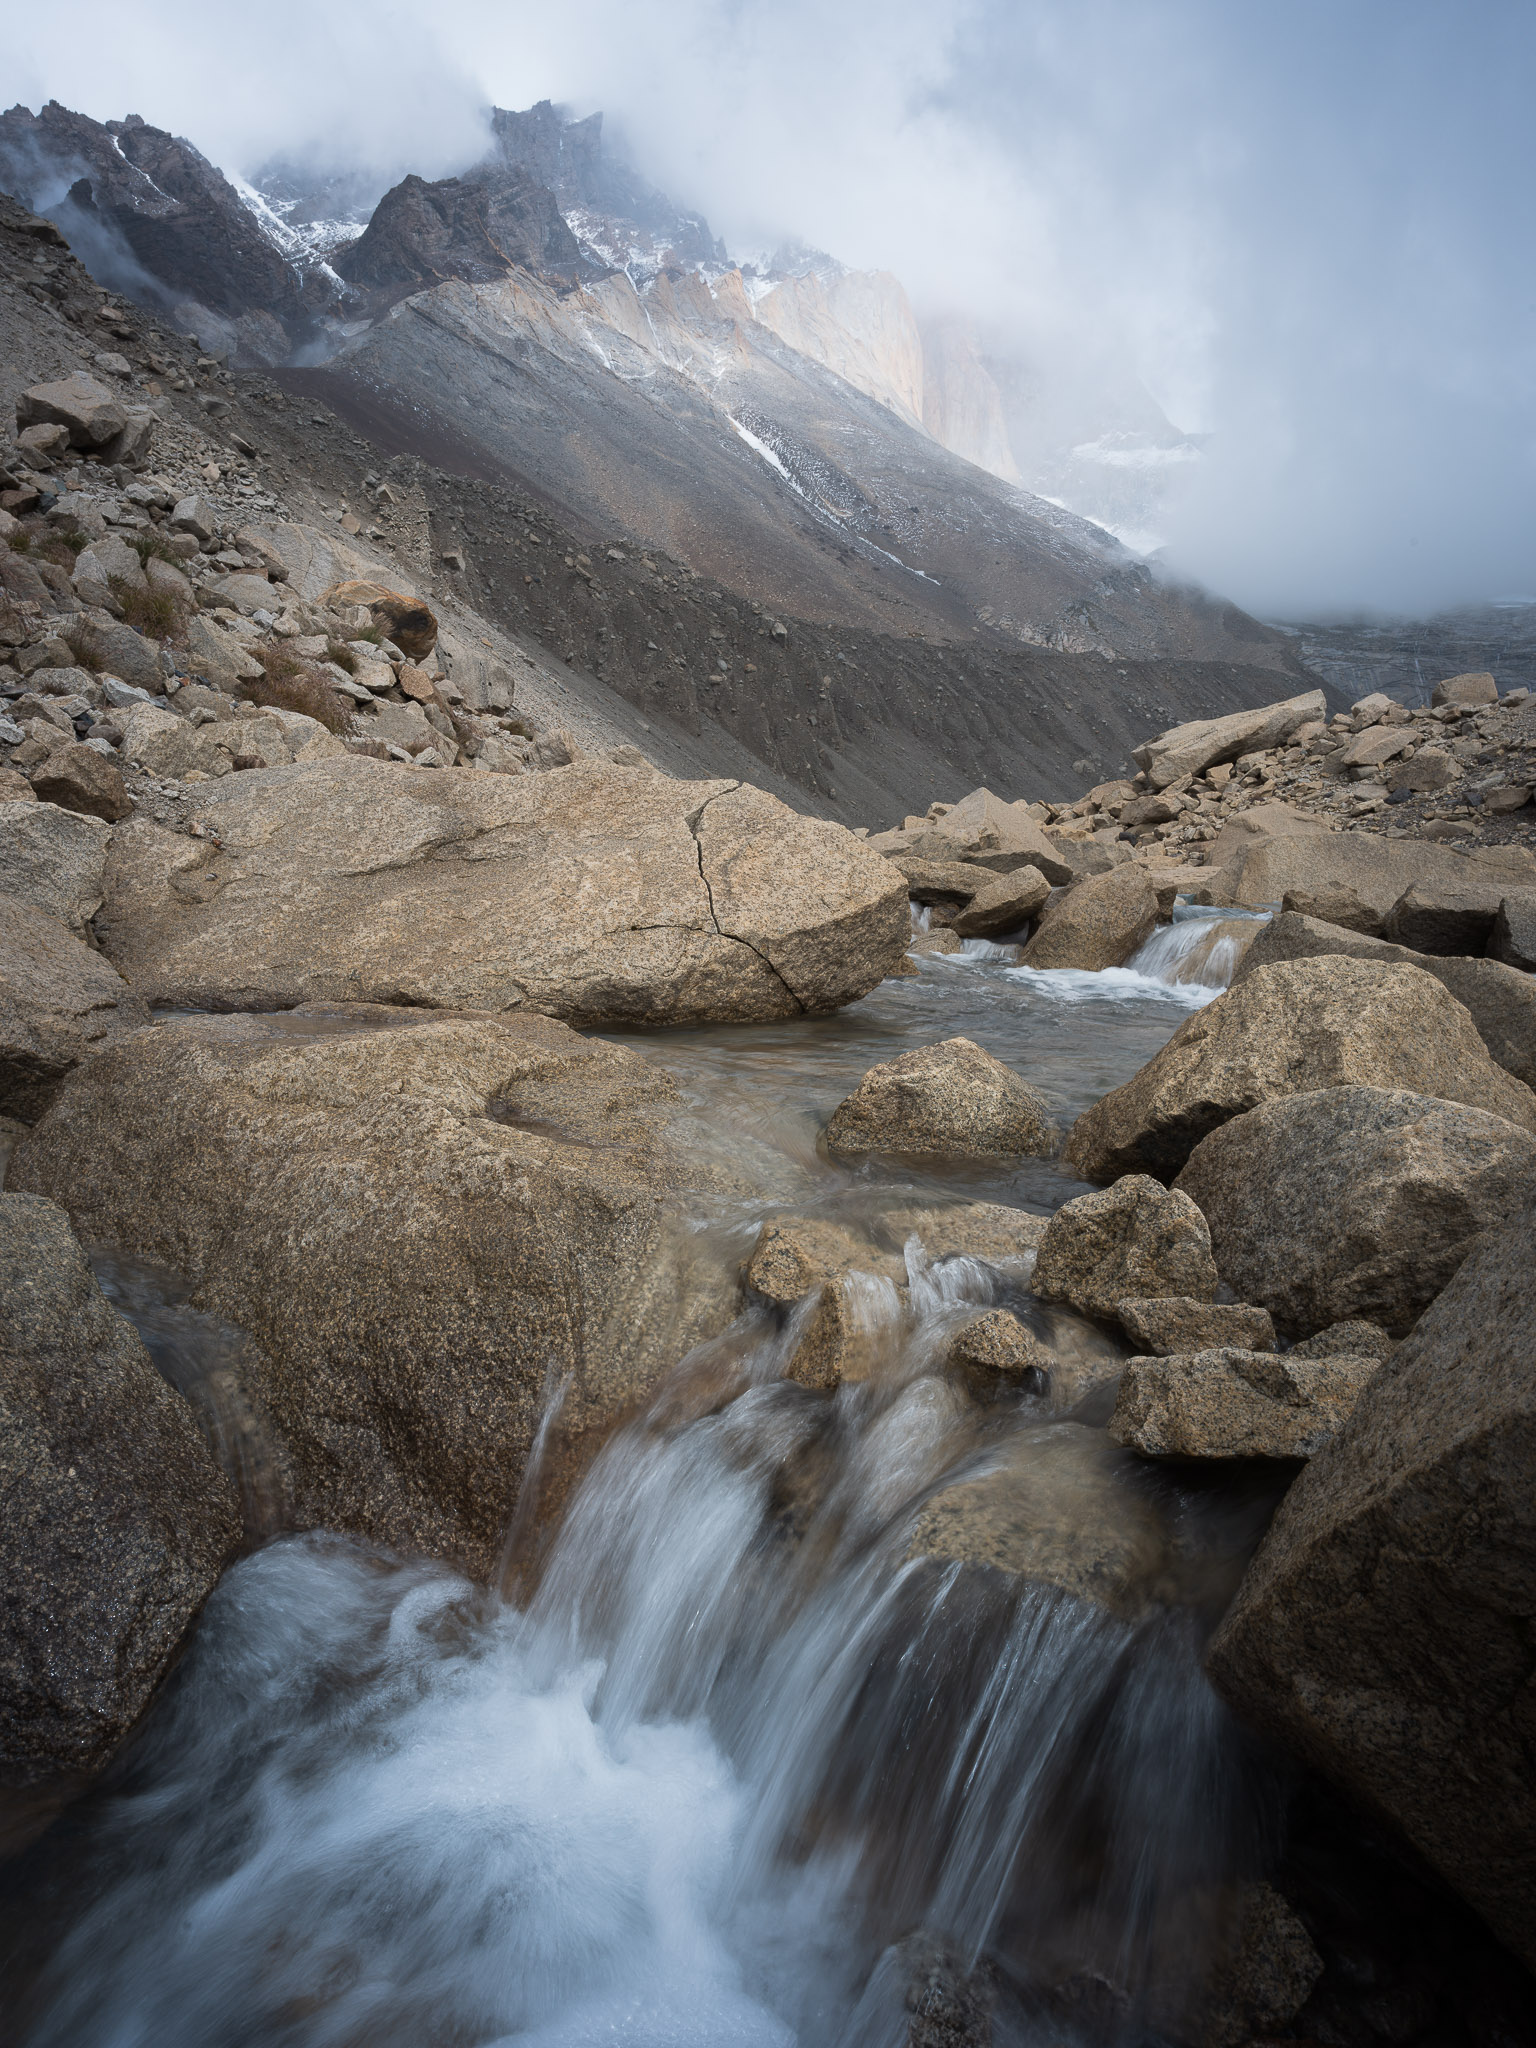
In fact, for one day during the hike (the hardest day, an out-and-back climb totaling 18 miles / 29 km), I left my tripod and various gear at one of the huts to lighten my pack. I was trepidatious about it, since I knew there would be some interesting waterfall photos that day, and I expected a tripod to come in handy. But it ended up being just fine. In-body image stabilization, along with taking a burst of photos to select the sharpest later, worked flawlessly. I managed to take a lot of sharp handheld photos around 1/15 second, which even allowed me to use base ISO 64.
Again, I’m still glad I brought a tripod, but I’m probably going to use the lighter one next time. And other photographers aren’t as religious about tripod usage as I am, so you’ll need to make that decision for yourself. It hurts a little to admit it, but I think that multi-day hikes are one of the rare times when the cons might outweigh the pros – at least depending on the level of image quality that you’re willing to accept, and how much low-light photography you’re planning to do.
5. Don’t Compromise on Focal Lengths
It’s not a bad idea to make some compromises on camera equipment for a multi-day hike. The tripod situation is one example; so is your choice of lens. For instance, choosing something like a variable-aperture zoom instead of an f/2.8 or f/4 zoom is reasonable, even if it comes with some image quality drawbacks. I think it’s okay to lower your image quality standards somewhat on a multi-day hike.
What I don’t think you should compromise on, however, is focal length. I consider it vital to carry along the full range of focal lengths that you expect to be useful for the trip. You definitely don’t need the sharpest or brightest lens at a given focal length, but leaving big gaps in your kit is another matter.
Of the seven lenses that I brought with me to the O Circuit, I was only reviewing six of them. My seventh lens – the Nikon Z 28-400mm f/4-8 – covered focal lengths that the others missed, especially on the telephoto end. I’ve already reviewed this lens and didn’t need any sample photos from it during the hike. But I carried it with me anyway, since I didn’t want to be left without a telephoto during a once-in-a-lifetime trek. The decision paid off, and I took some of my favorite photos during the O Circuit in the 300-400mm range.

Conclusion
I hope these tips gave you some ideas and inspiration if you’re planning a long hike as a photographer. I’ll have a lot more photos and articles to share from my trip to Patagonia soon, but in the meantime, let me know in the comments if you have any questions! This article only scratches the surface of multi-day hiking as a photographer, but in the comment section, I’d be happy to answer any questions about the O Circuit specifically or backpacking in general.


